
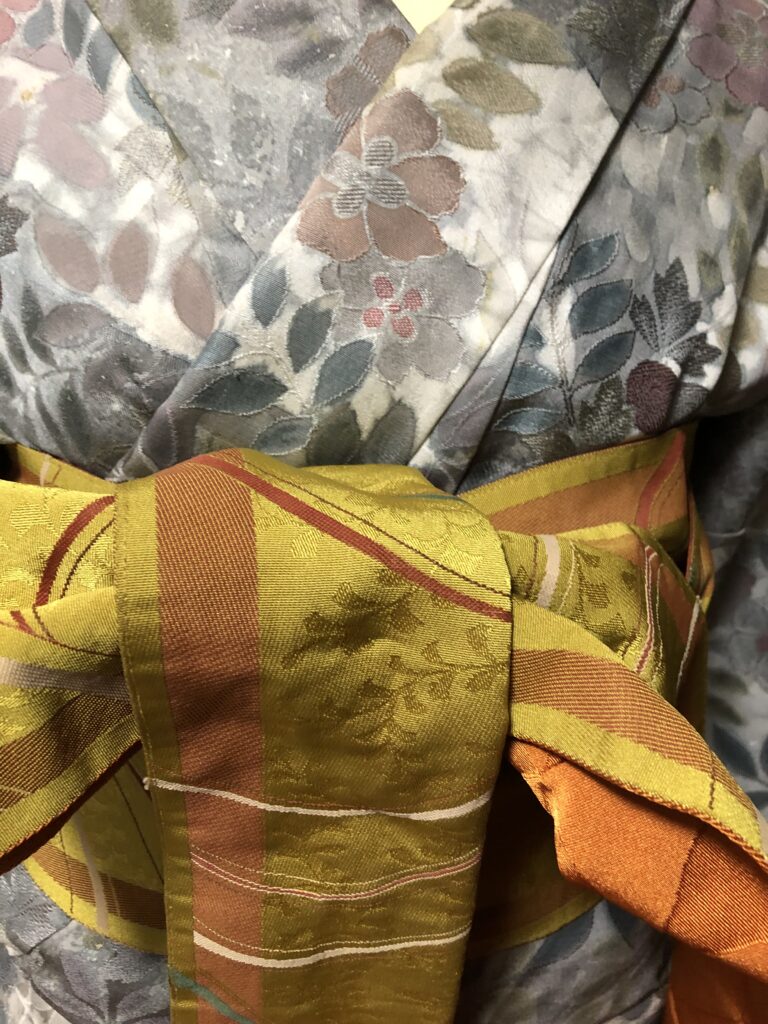
いろんな世代の方に楽しんでもらえる帯結びです。普段よく使う蝶々結び(例えばエプロンや靴ひもなど)なので、覚えやすいですし、安心感もあります。
椅子の背もたれを使用すると、リボンの向きによっては形が変わります。
This is a way of tying the shape that people of all generations will enjoy. Tie with a bowknot. (For example, when you wear an apron or tie a shoelace, you tie a bowknot.) So it is easy to remember and you are to it , so you feel safe.
Depending on the orientation of the ribbons, the use of the backrest on the chair may change the shape of the obi.
結び方 How to tie
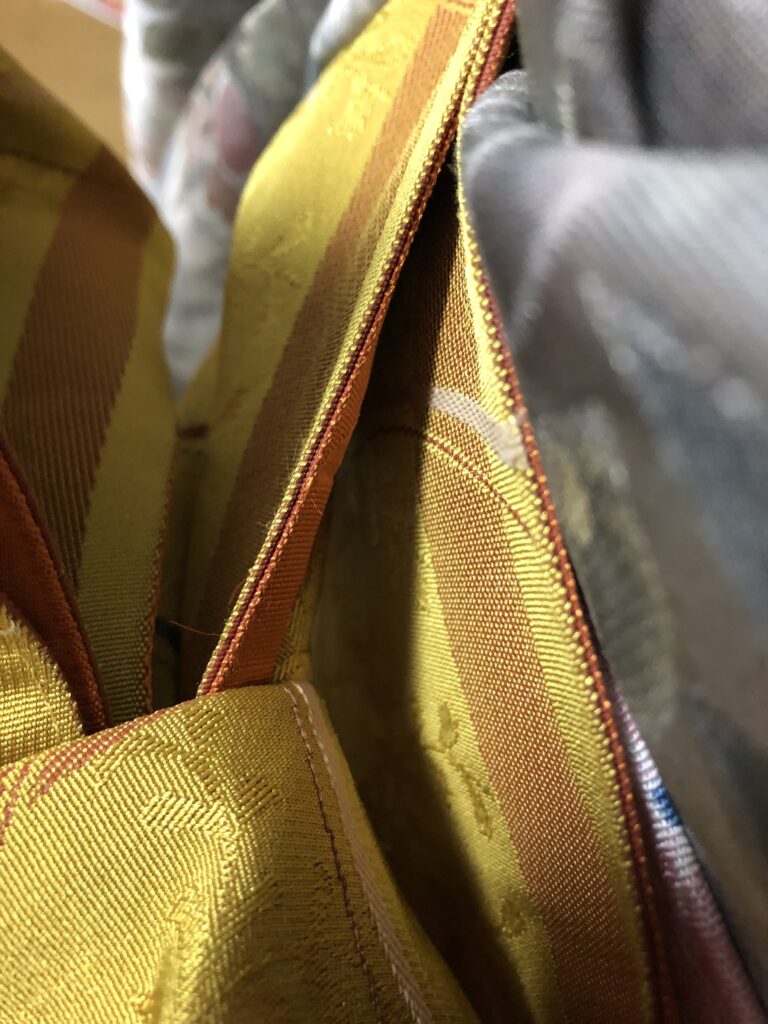
※関東巻きでします。体に巻き付ける側の帯をタレ、巻き付けない方をテと言います。ここでは、その呼び名はあまり使いません。
帯を体に貼り付けるイメージで帯を結びます。強く締め付けなくていいです。
前で結びます。
まず左手に持つ帯の長さを決めます。
文で説明されるのはわかりづらいかもしれません。すいません。
胴体に2周巻いた後、右手と左手に持つ帯が同じ長さになってほしいので、
巻く方の帯(右手の帯)は、
胴体2周分✙左手に持つ帯と同じ長さ
となります。
なので、まずは胴体2周分を測ります。
※This roll is kantoumaki. The side of the obi used after wrapping it around the body is called a ‘tare’ and the side without wrapping it is called a ‘te’. But this name is not used here.
When you wrap the obi, tie it with the image that the gap between the body and the obi becomes zero. You do not have to tighten it strongly.
It is in front of your body.
determine the length of the obi on the left hand.
Sentences may be difficult to understand . Sorry.
The good is to wrap the obi around the body twice and then hold the obi right hand and the left hand in the same length.
The obi in your right hand is=
The length of an obi that is wound twice + The same length as the obi in the left hand.
First, wrap the obi around your body twice.
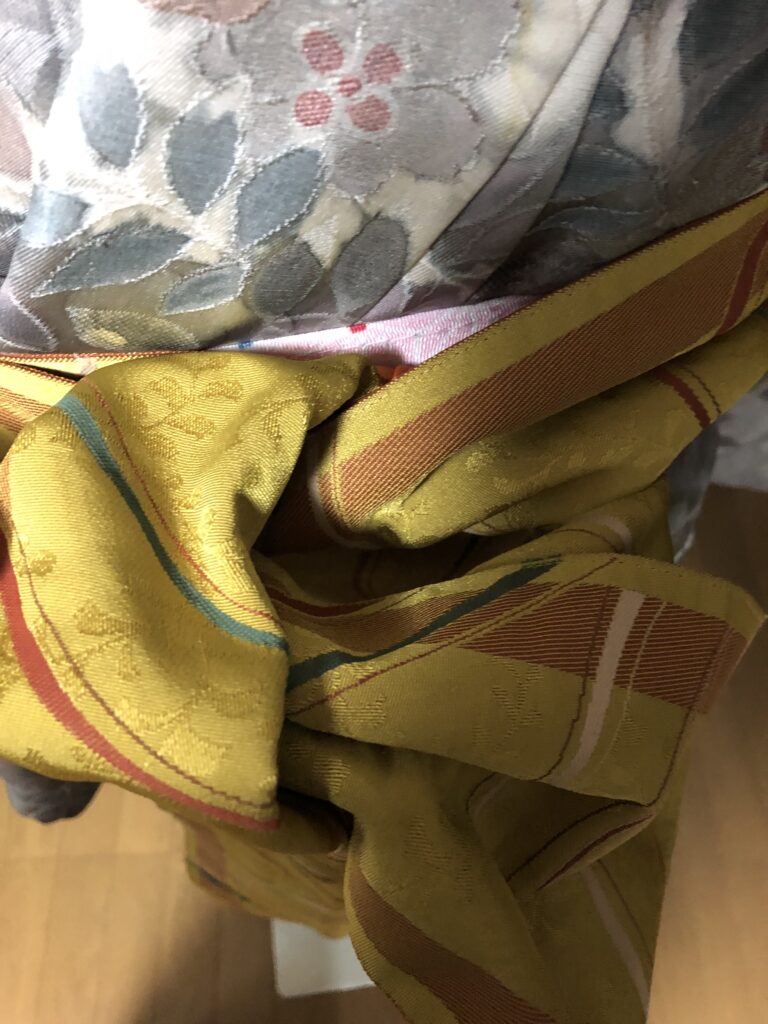
2周分測ったら、左手に持つ方の帯を持ってきて
残った帯の部分を半分におります。
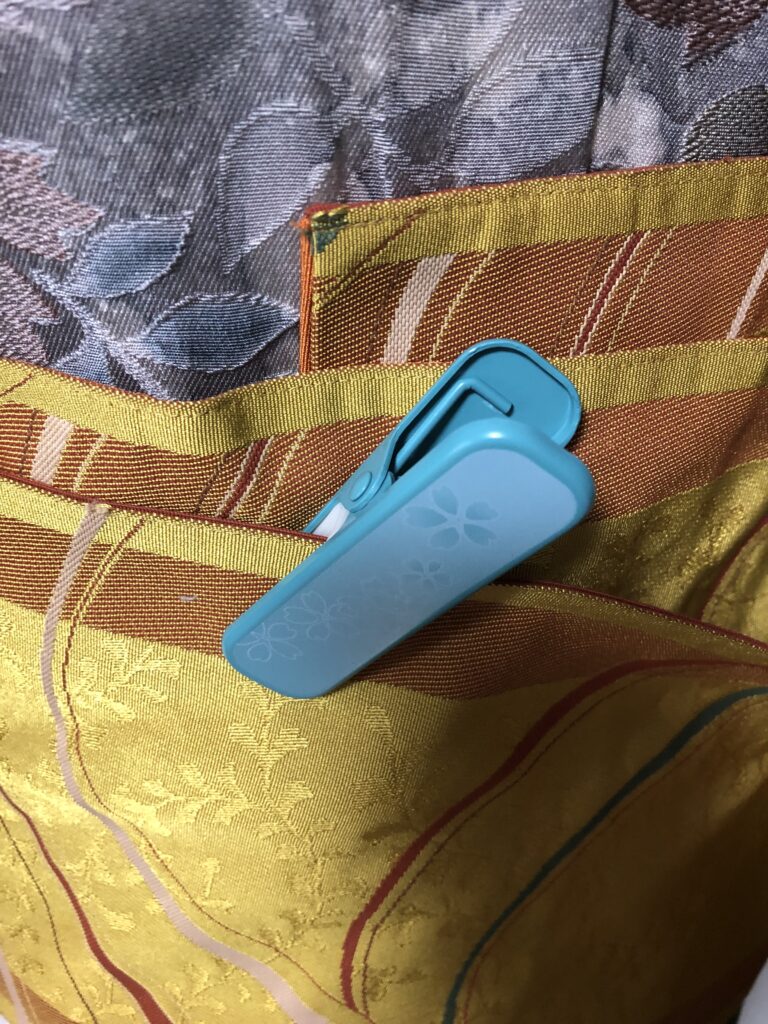
Now, you are going to bring the end of the obi in your left hand to the blue clip.
And then you put a white clip on the fold.

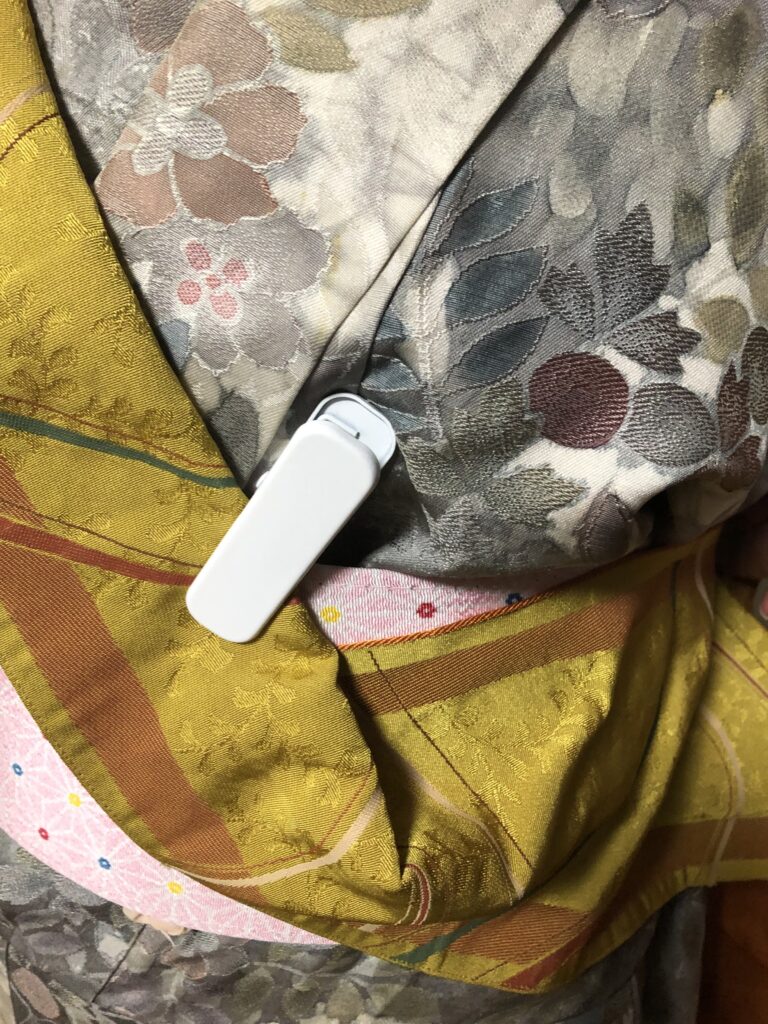
この白いクリップのところが
右手(胴体2周分+左手に持つ帯と同じ長さ)と左手に持つ帯の分かれ目です。

左手に持つ帯(短い方)を半分に折って帯板にクリップで留めます。
巻いていきます。2周巻きます。巻く帯は自然に折り目がなくなるようにひろげていきます。
Do not shift the position of the white clip. Hold the short side of the obi to your left hand. Fold the obi in half and clip it to the obiita(帯板).
You will wrap it around your body. you will wrap it around twice. Let`s widen the broken part of the obi.
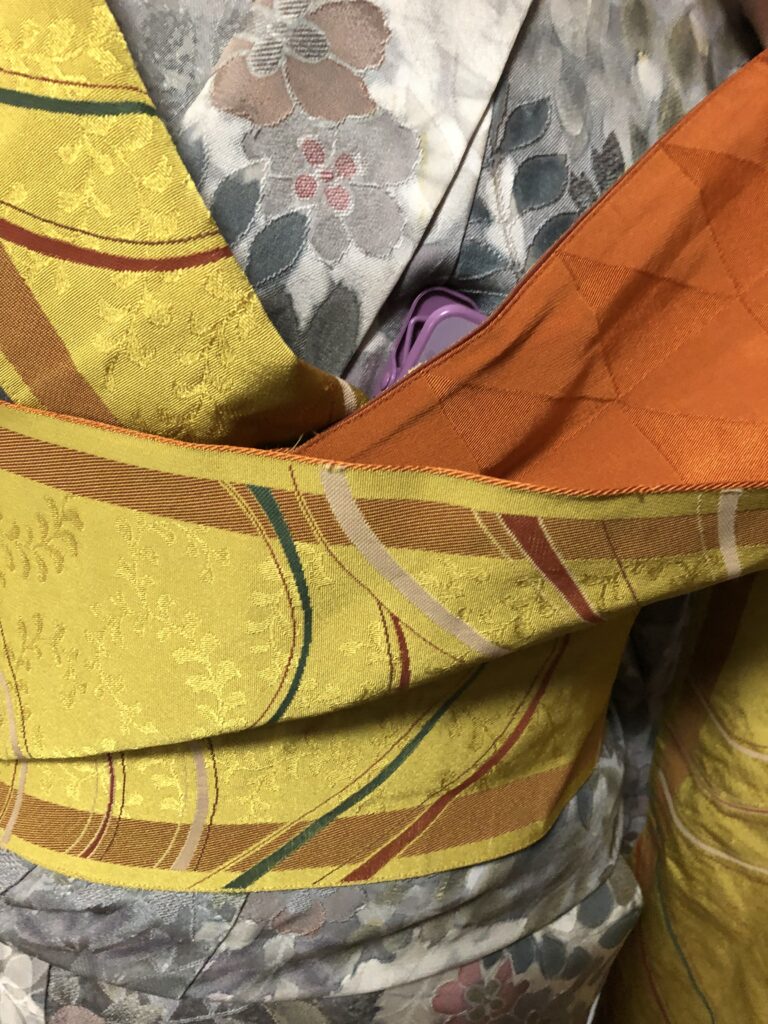
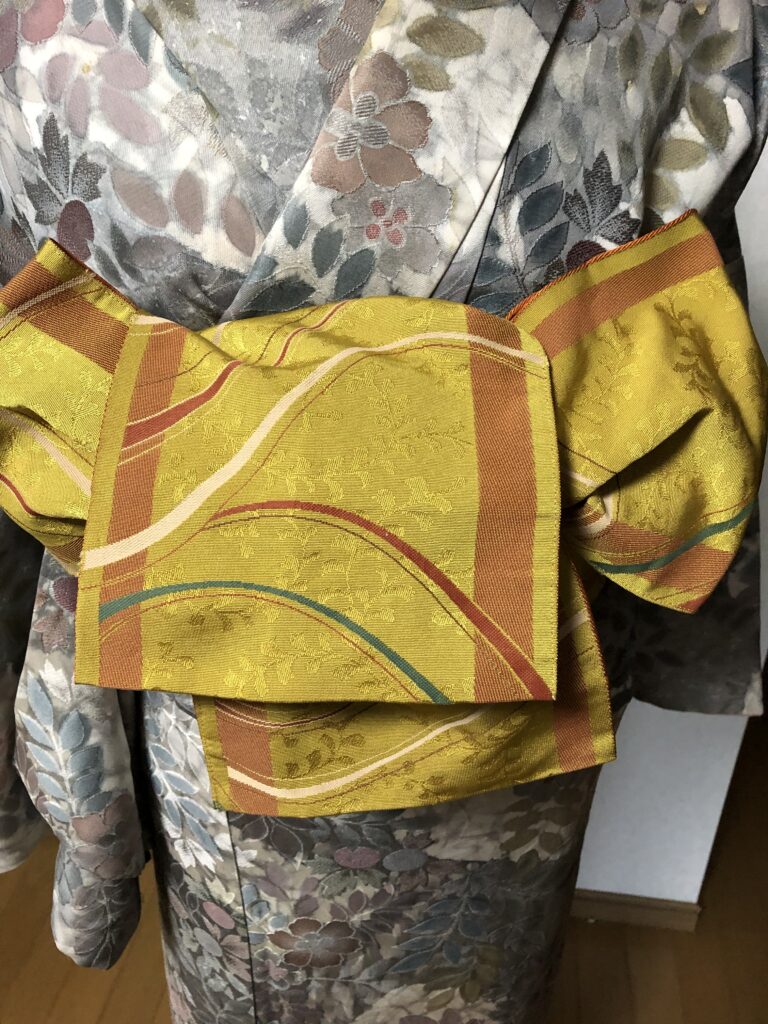
お腹まできたら、写真のように、折り上げます。
Fold the obi in front of your stomach. (Please refer to the picture)
左手に持っている帯を上にして結びます。
結んだら、下になった帯の結び目のところから帯を広げます。
The obi on the left intersects at the top. Tie one`s obi.
Spread the base of the lower obi firmly
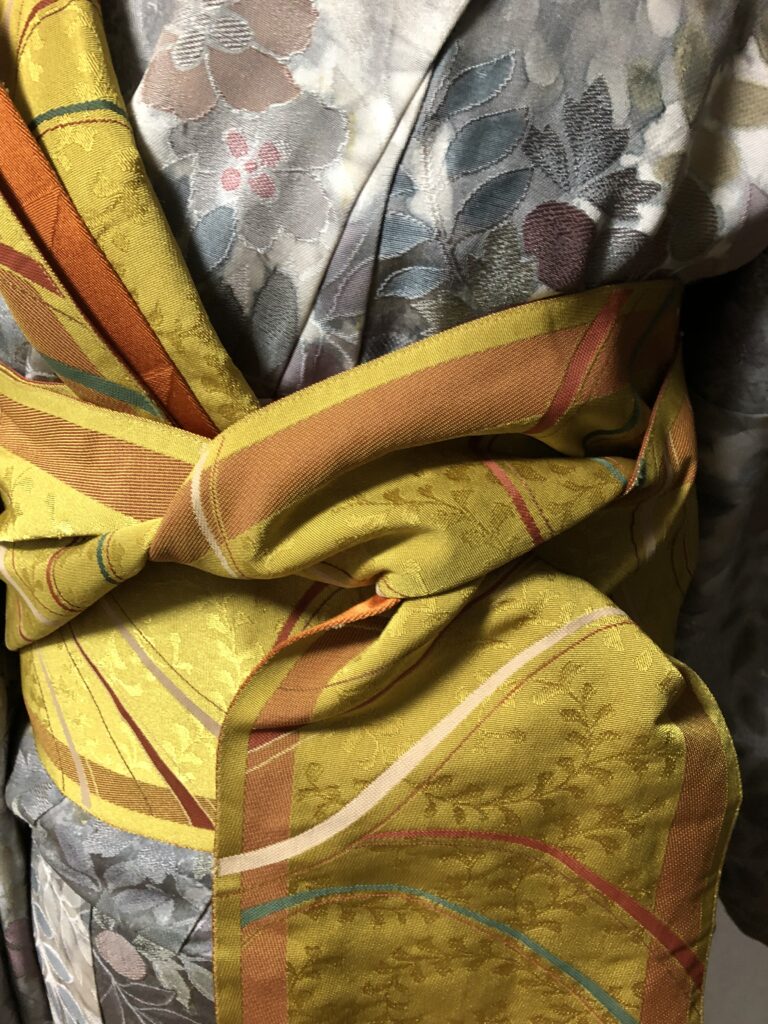
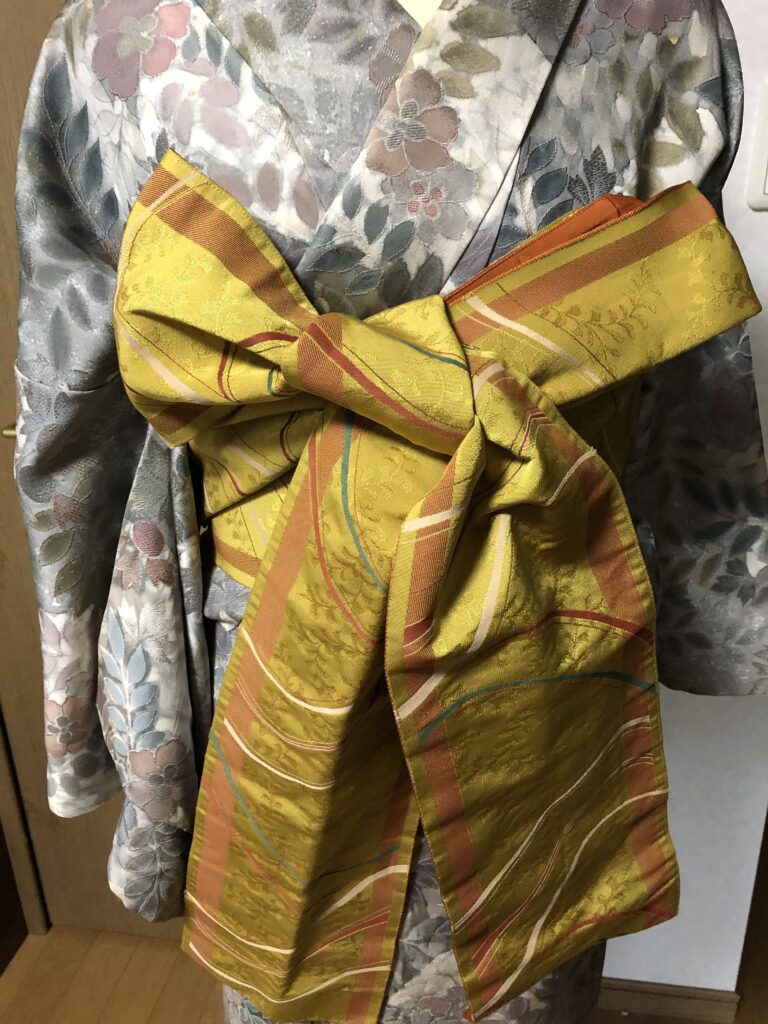
蝶々結びをします。下の帯を写真のように、上におります。
Tie a bowknot, please.(Please, refer to the picture)
上の帯を下におろします。
Lower the upper obi down.
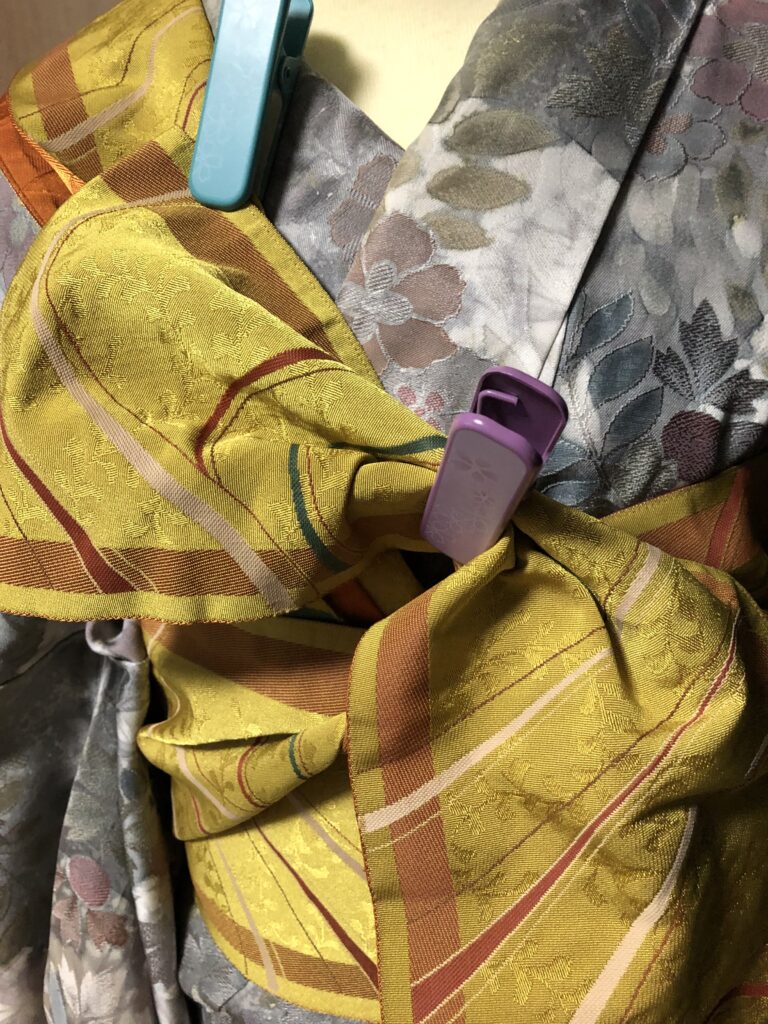
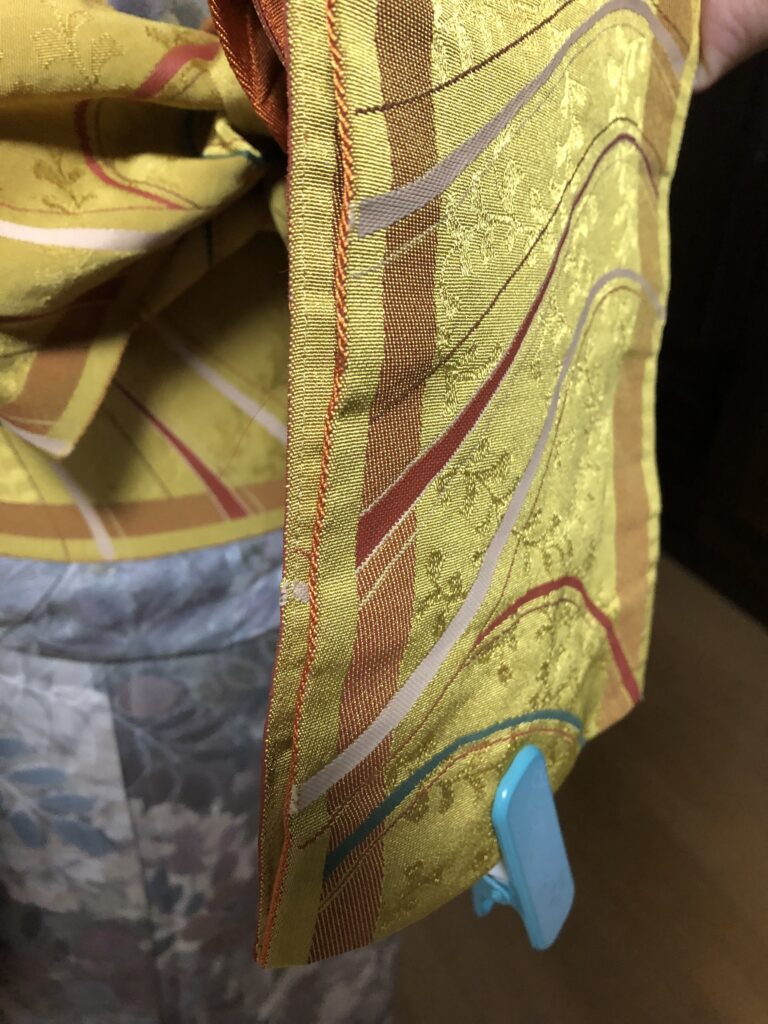
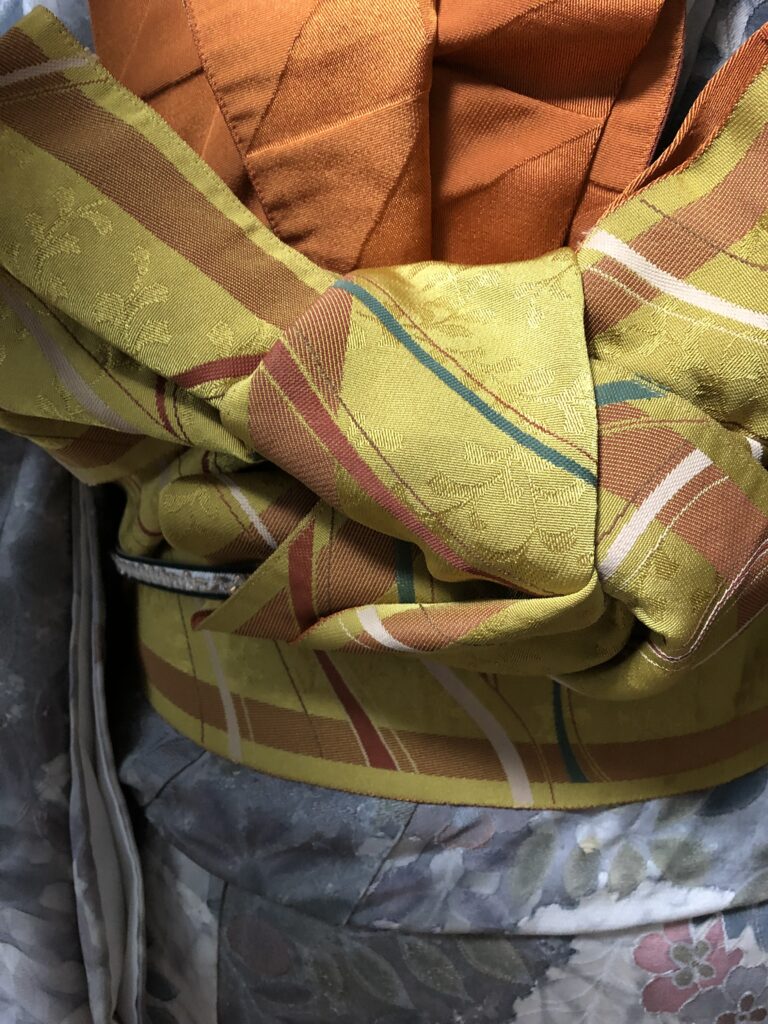
写真のところに降ろした帯を下から入れます。
Please put the obi though the hole from below.
強く結んでください。
Please tie it tightly.
下の帯2枚を長さをそろえて持ちます。
Please make the bottom two obi the same length.
下の帯を結び目と帯の間に、下から入れます。
Put it between the knot of the obi and the obi from the bottom.
上に引っ張ります。
長さは好みで調整してください。
Pull it up.
Please adjust the length according to your preference.

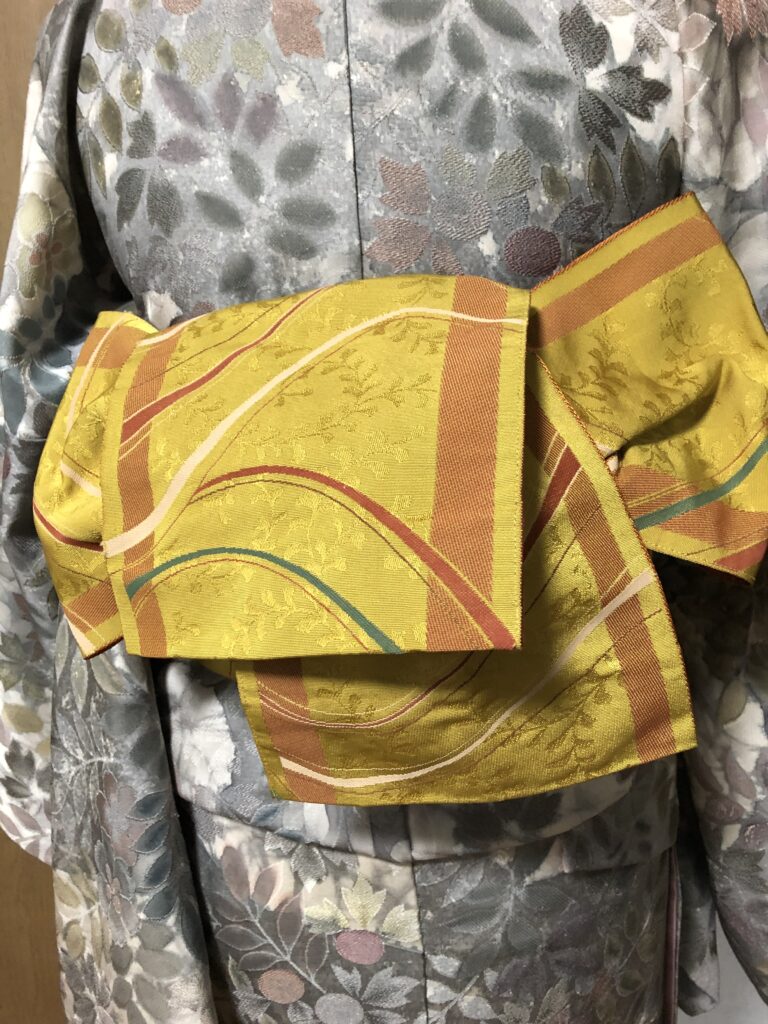
形を整えます。
Make the obi to the desired shape.
もし、下の方が気になるようでしたら、帯締めでキレイに押さえて整えます。
If you are going to put in order the bottom of your obi, you`d better use the obijime(帯締め).
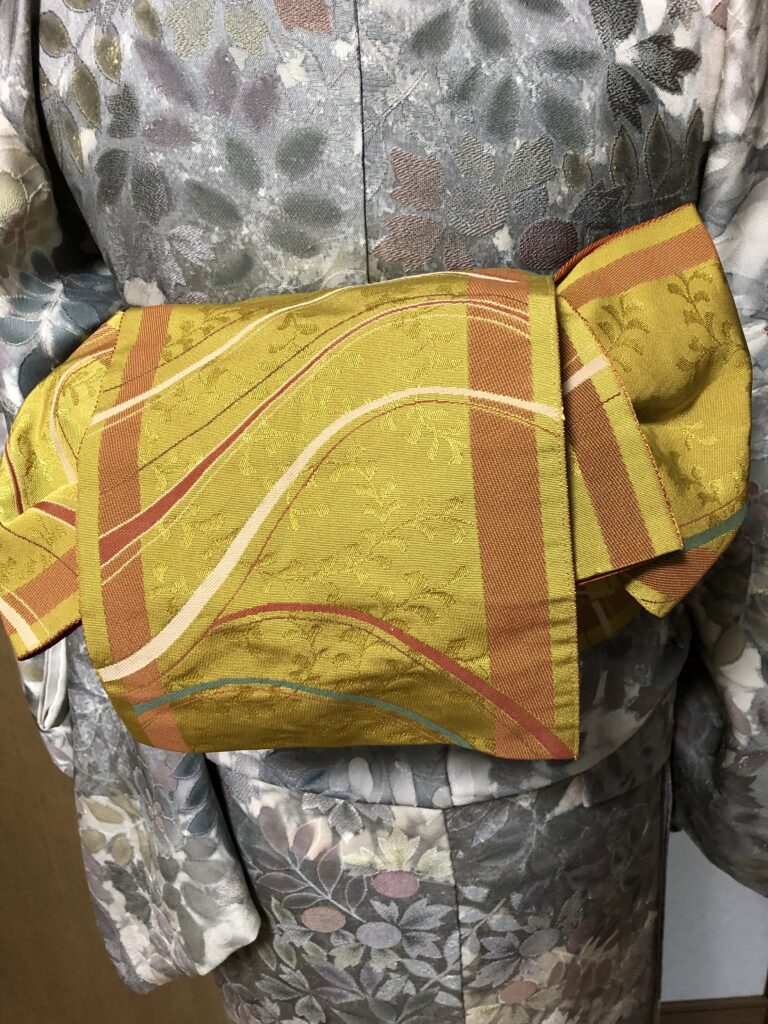
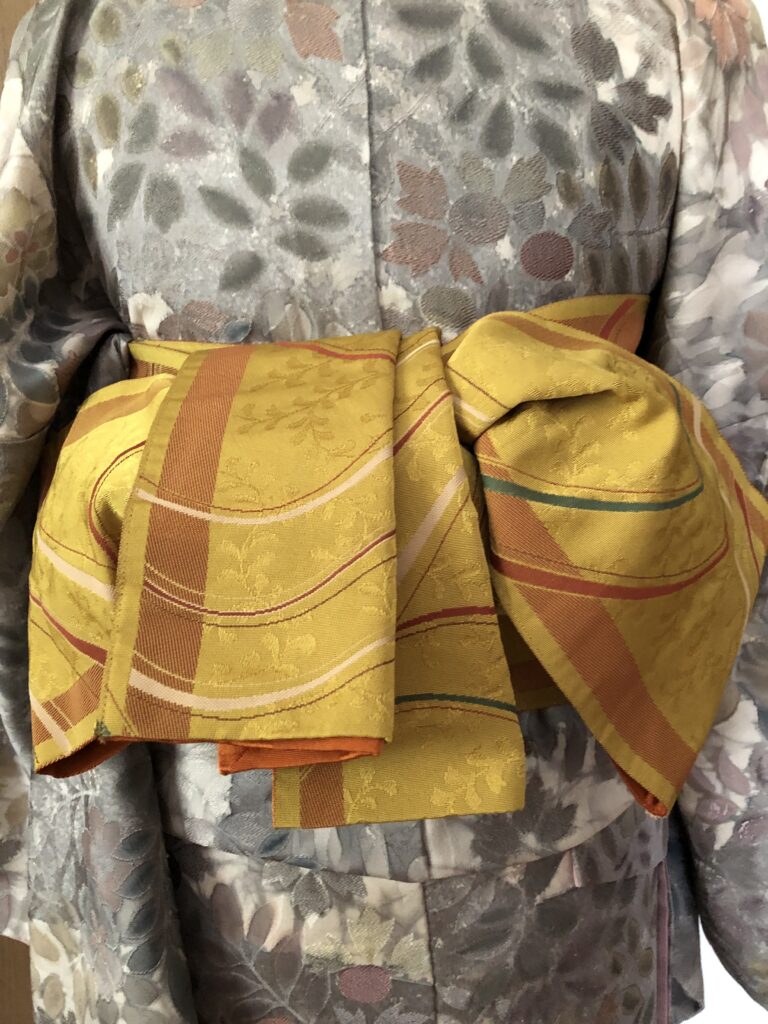
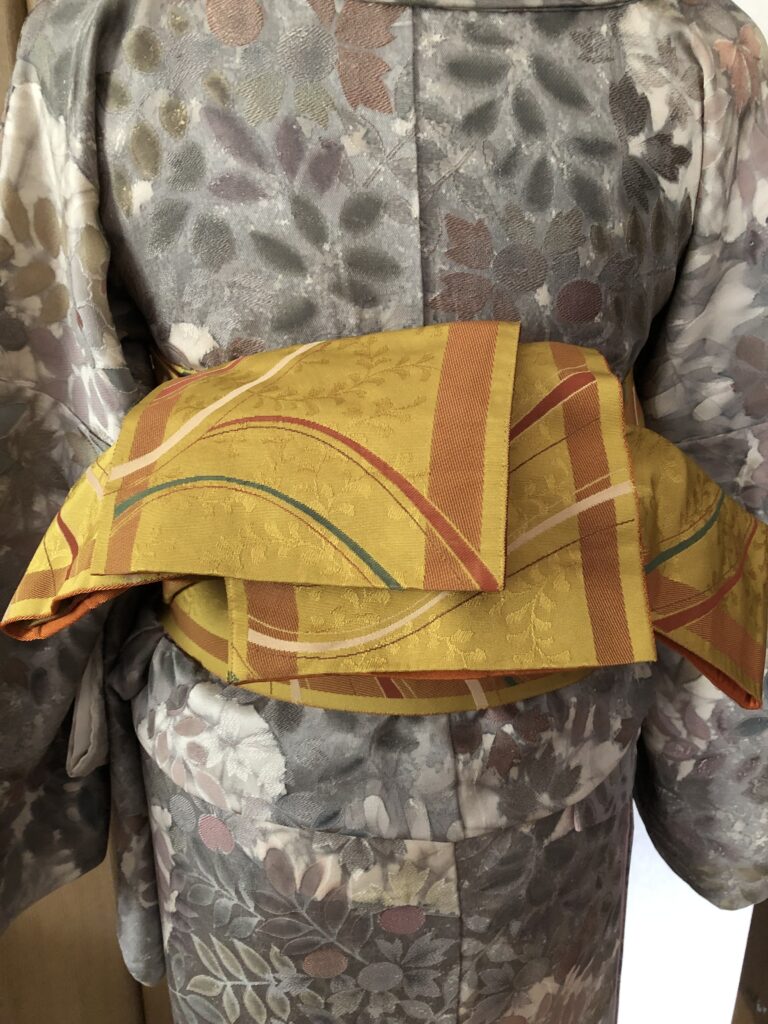
後ろに回して出来上がりです。
Please , turn the tied obi around your back.
Completion.
アレンジ Arrangement
YouTubeに動画もあります。良かったらご覧ください。こちらです。
There is also a video clip of obi-tie on YouTube. Take a look of you like. here.
拙い説明でしたが最後まで読んでいただきありがとうございました。
I am sorry for my poor explanation and English.
Thank you for reading through to end.