

半衿
長襦袢に縫い付けて使用します。衿元と衣紋のところからみえます。
基本は1~5月、9~12月は冬物の塩瀬や縮緬、6~8月は夏物の絽など付けます。普段着物においては、自分のコーディネート、暑さの体感で変わってOK。
素材は、絹、綿、麻、化繊といろいろあります。ポリエステル、綿、麻、は洗えます。絹は、洗える加工の絹もあります。
色も白だけではなく、色物や刺繡の半衿もあります。
一般的に
- 金糸、銀糸、白糸の刺繡半衿は留袖用
- 色刺繡、西陣織などの織の半衿は振袖、訪問着(ここは、コーディネートが素敵ならあまり気にしないで良いと思います。)
長襦袢を購入する時は、半襟が最初から縫い付けてある物も多いです。よく確認して購入してくださいね。
haneri
It is sewn to nagajyuban(長襦袢)for use it.
Basically , siose(塩瀬) and tirimen(縮緬) are used from January to May, September to December. And from June to August, we used summer good such as ro(絽),etc.
But when you wear every day or fashionable kimonos, you can decide by your own coordination and experience.
The materials are silk, cotton, hemp and synthetic fiber. Polyester, cotton and hemp can be washed. Silk also has washable silk.
There are other colors besides white. There is embroidery, etc.
In general
- The embroidery haneri of gold, silver, and white thread is for tomesode(留袖).
- Furisode(振袖) and foumongi(訪問着)are suitable for color embroidery and nisijin weave(西陣織),etc.(You should not worry too much about this. Please coordinate it beautifully)
When purchasing Nagajyuban(長襦袢), please check if it has a haneri and purchase it. Many of them are sewn from the beginning.
半衿付け方 How to sew
本来は、くけ縫いなのですが、私は裁縫苦手(2度目)なので、並縫いでします。
Originally, it is sewing kukenui(くけ縫い),but I am not good at sewing, so I sew it with running stich.
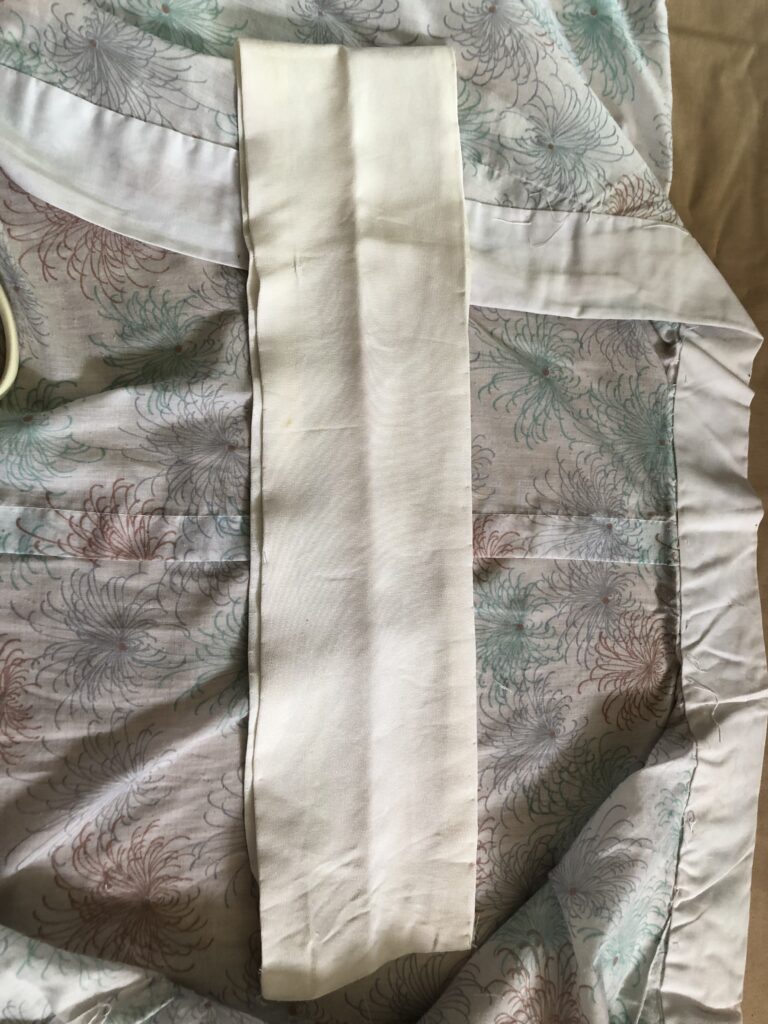
半襦袢の裏側から付けます。(私は、真っ直ぐに縫うのも下手なのでアイロンをかけて縫い代の目印にしてます。縮んだりすることもあるので、オススメではありません。縫い代の目印は皆さんが普段裁縫する時の仕方でしてくださいね)
I sew it from the back of my nagajyuban(長襦袢).( I am not good at sewing, so I will mark it with an iron. But I do not recommend it because it some times shrink.)
縫い代は約1㎝。
The seam allowance is 1 cm.
半分に折って中心を確認。
Fold the haneri in half and check the center.
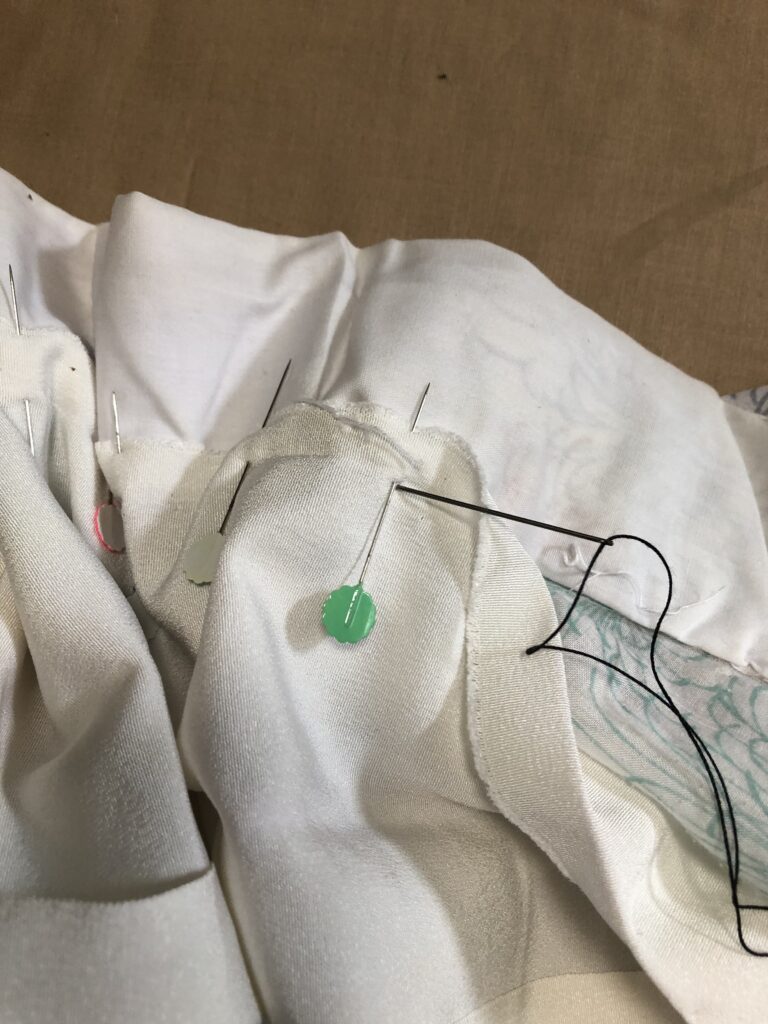
長襦袢内側の背中心と半襟の真ん中を合わせて、衿下線と縫い代1㎝のところをマチ針で止めます
Align the center of the back of the nagajyuban(長襦袢)insaide with the center of the haneri and fasten it with a marking pin.
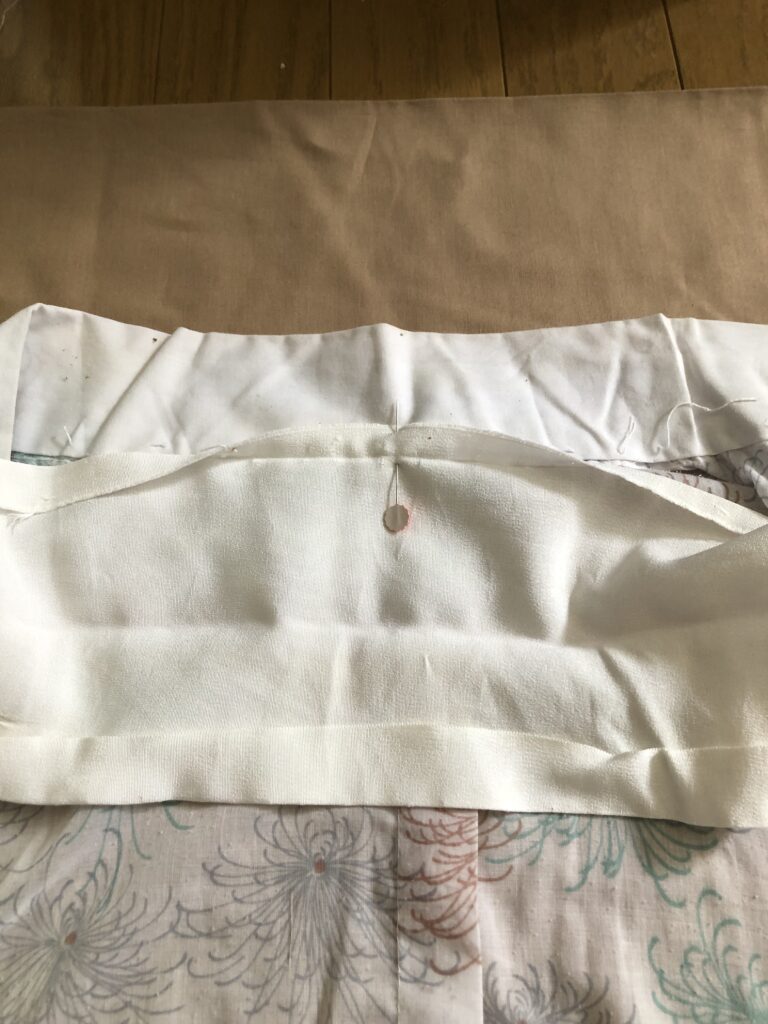
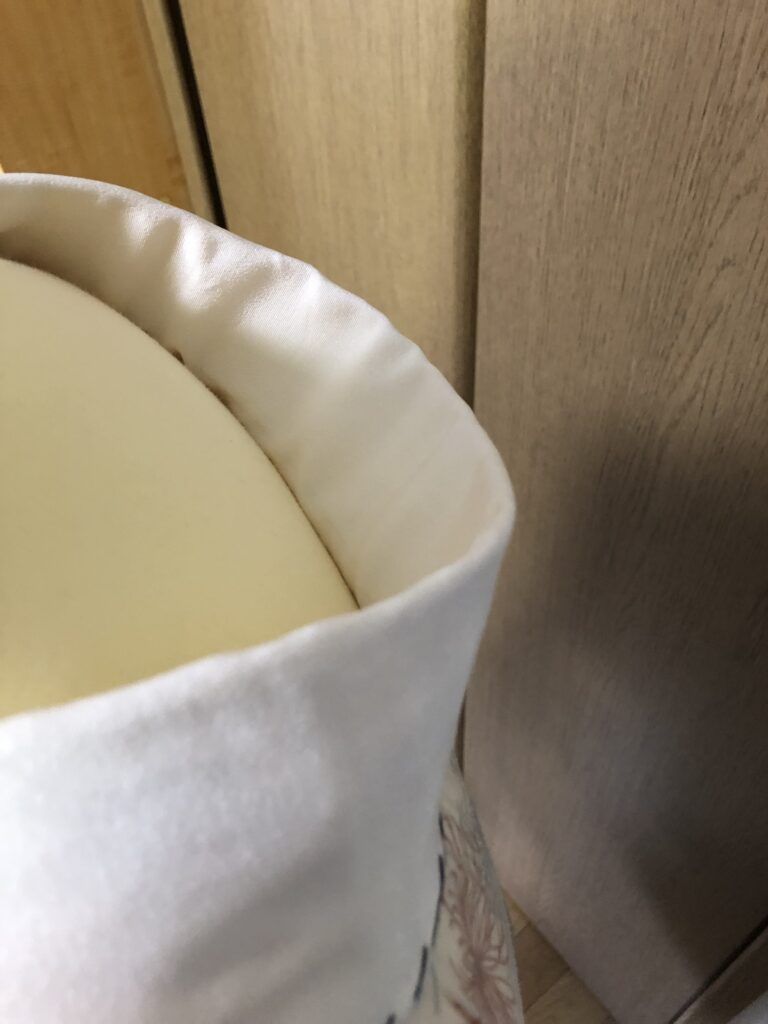
首の後ろの半衿は、内側に曲がるので、どうしてもしわになります。その為、肩の後ろの半衿は、長襦袢の衿より5mm短くなるようにします。自然になるように、マチ針をします。(両方の肩から中央のマチ針まで、同じようにします。)
The haneri behind the neck bends inward , do wrinkles from. Therefore, the haneri behind the shoulder is about 5mm shorter than the collar of the nagajyuban(長襦袢), and the marking pin is applied to make it natural. (Do the same thing on both shoulders)
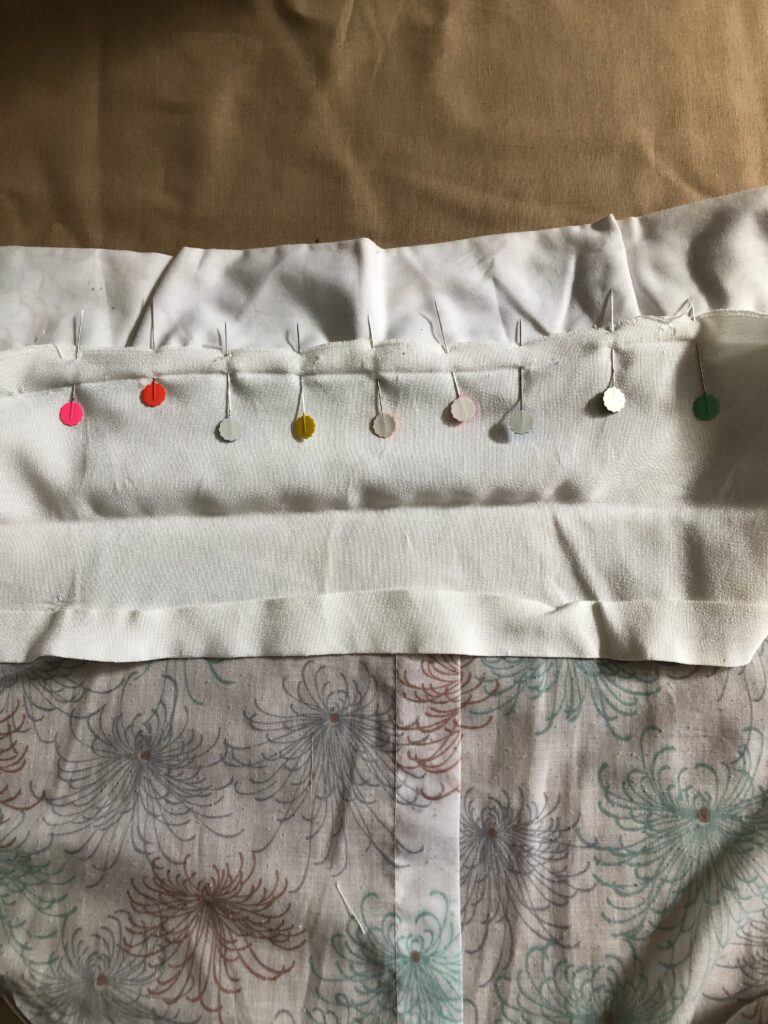
(衣紋のところだけたくさんマチ針します。苦手なので^^; 他のところは長襦袢と半衿の長さを変えることがないので、マチ針はそんなにしません。)
衣紋になる部分は1㎝幅の並縫い、そこ以外は1.5㎝~2㎝の並縫い。
The haneri at the back of the shoulder is 1 cm wide and the rest is 1.5 to 2 cm wide.( running stich)
(私は衣紋のカーブのところからスタートします。本当は端から始めて大丈夫です。)
(I sew from the shoulder of the haneri, but it dose not matter where you start sewing.)
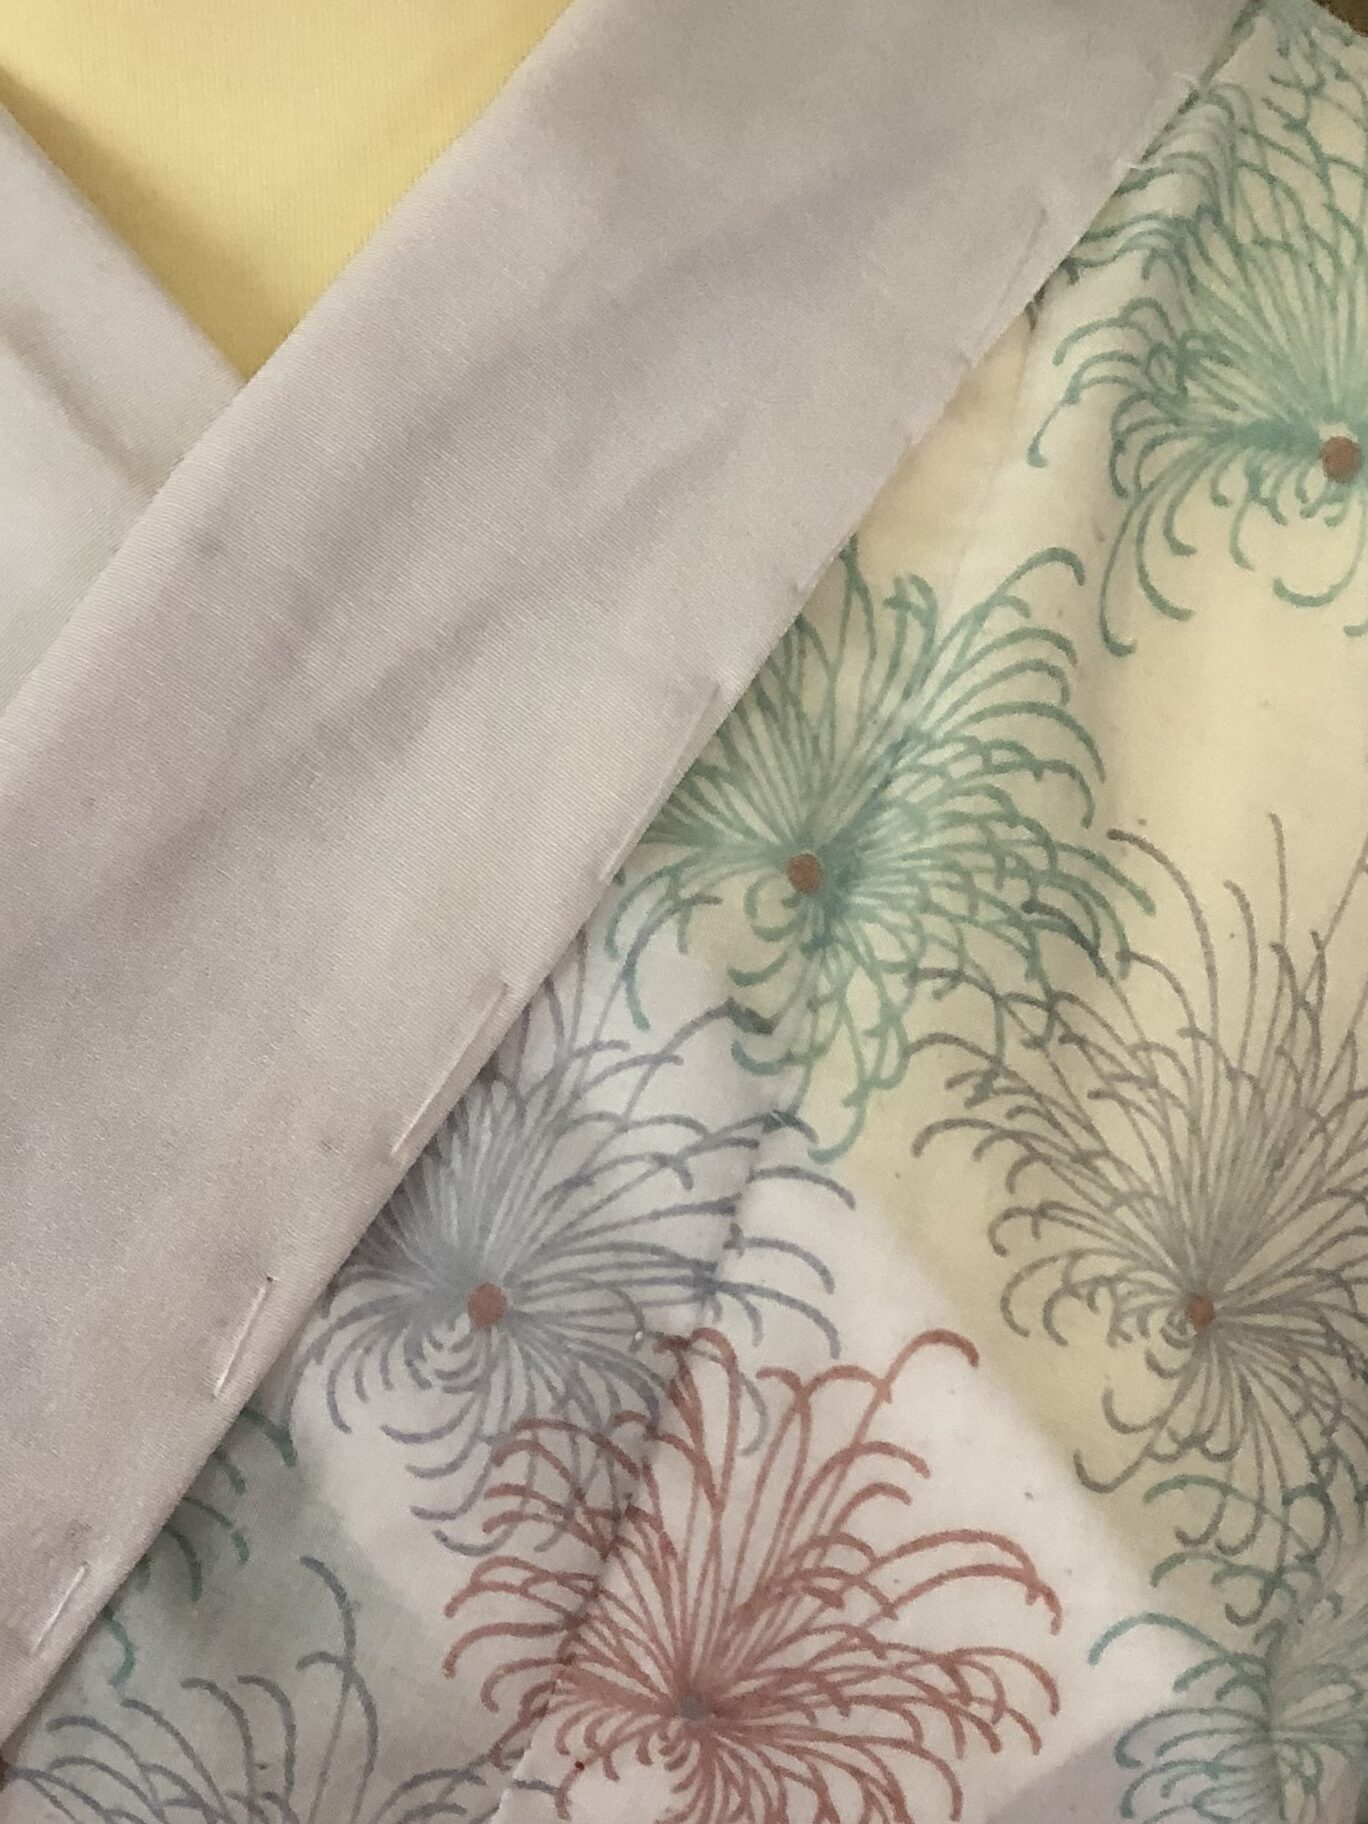
次は長襦袢を表にします。こちら側は縫い目が人に見られるわけではないので気持ちが楽。半衿を長襦袢の衿にピッタリ合わせます。
The front side of the nahajyuban(長襦袢). When someone wears a kimono, on this side, the seams are covered with kimonos. So I can sew it comfortably.
背中心のところに縫い代を折り込んでマチ針をします。長襦袢の衿と半衿に隙間ができないように、縦に引っ張りながらマチ針をしていきましょう。
Align the back center of the collar of nagajyuban(長襦袢) with the center of the haneri and hit the marking pin.( With seam allowance folded inward) Pull vertically so that there is no gap between the haneri and collar of the nagajyuban(長襦袢).And then I will hold it with a marking pin.
1.5㎝~2㎝で縫っていきます。
Please sew 1.5 to 2 cm.
並縫いバージョン
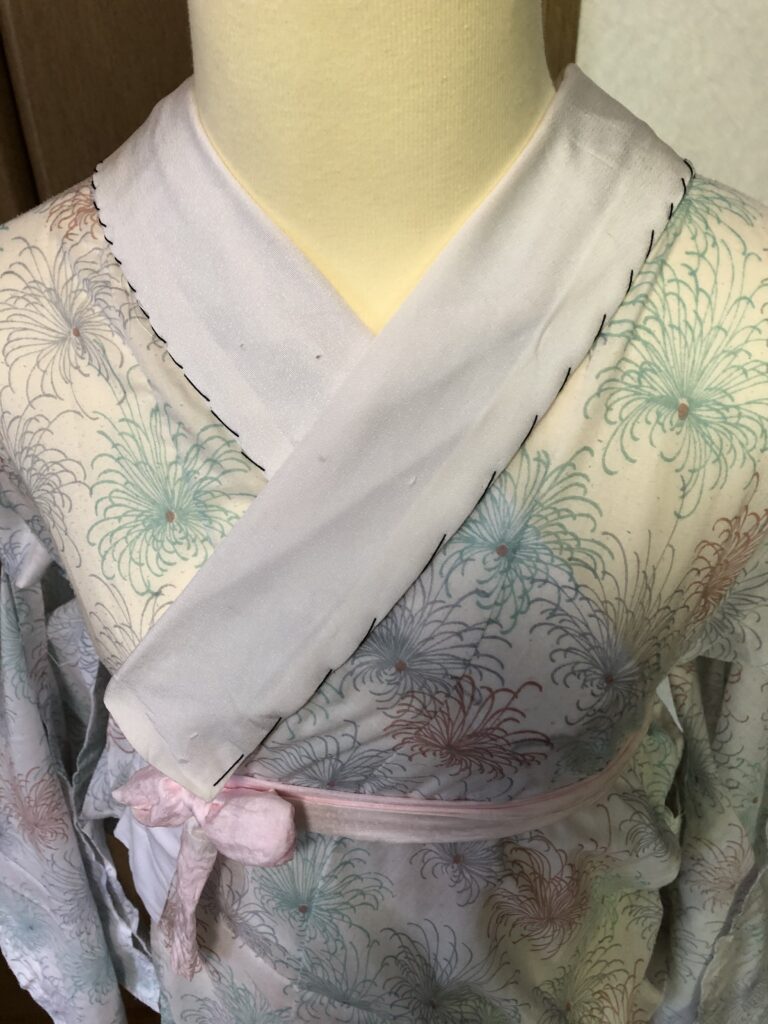
すいません。多分まつり縫いです。
どちらにしてもこの付け方の場合、着物脱いだら糸みえちゃいます。
衣紋内側は黒糸見えないので、大丈夫です。試しにだったので、黒糸でしましたが、糸と半衿は同じ色が良いです。
I Think thread and haneri should be the same color.
きちんとした縫い方もありますし、安全ピンや衿用両面テープなどもあります。好きな方法でどうぞ。半衿は顔のすぐそばですし、着物のアクセントにもなります。縫い付けなど大変ですが、個性を出して楽しんでください。
There are many ways to sew. There are safety pins, double-sided tape for haneri, etc. Let’s do it in your own comfortable way. The haneri is a cloth under the face. And it is also an important accent for kimonos. It is hard to sew, but please enjoy it with your personality.
最後まで読んでいただきありがとうございました。
I am sorry for my poor English.
Thank you for reading through to end.